This post was published in 2023-06-12. Obviously, expired content is less useful to users if it has already pasted its expiration date.
使用chatgpt 4
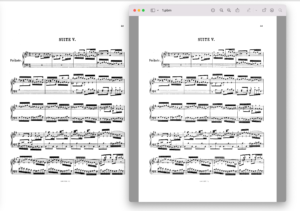
chatgpt 3.5一直没能成功get到我想要表达的重点在于 Retina,模糊 ,我试了好几个对话都没能拿到好用的代码。
Table of Contents
严重的遗留问题
2023年6月,在准备发表这篇笔记前我又跑了一遍程序,突然发现一个很严重的问题:
相比于tkinter展示图片的程序,pyqt部分场景更清晰,部分场景更模糊,懒得分析具体原因了。不想搞了。
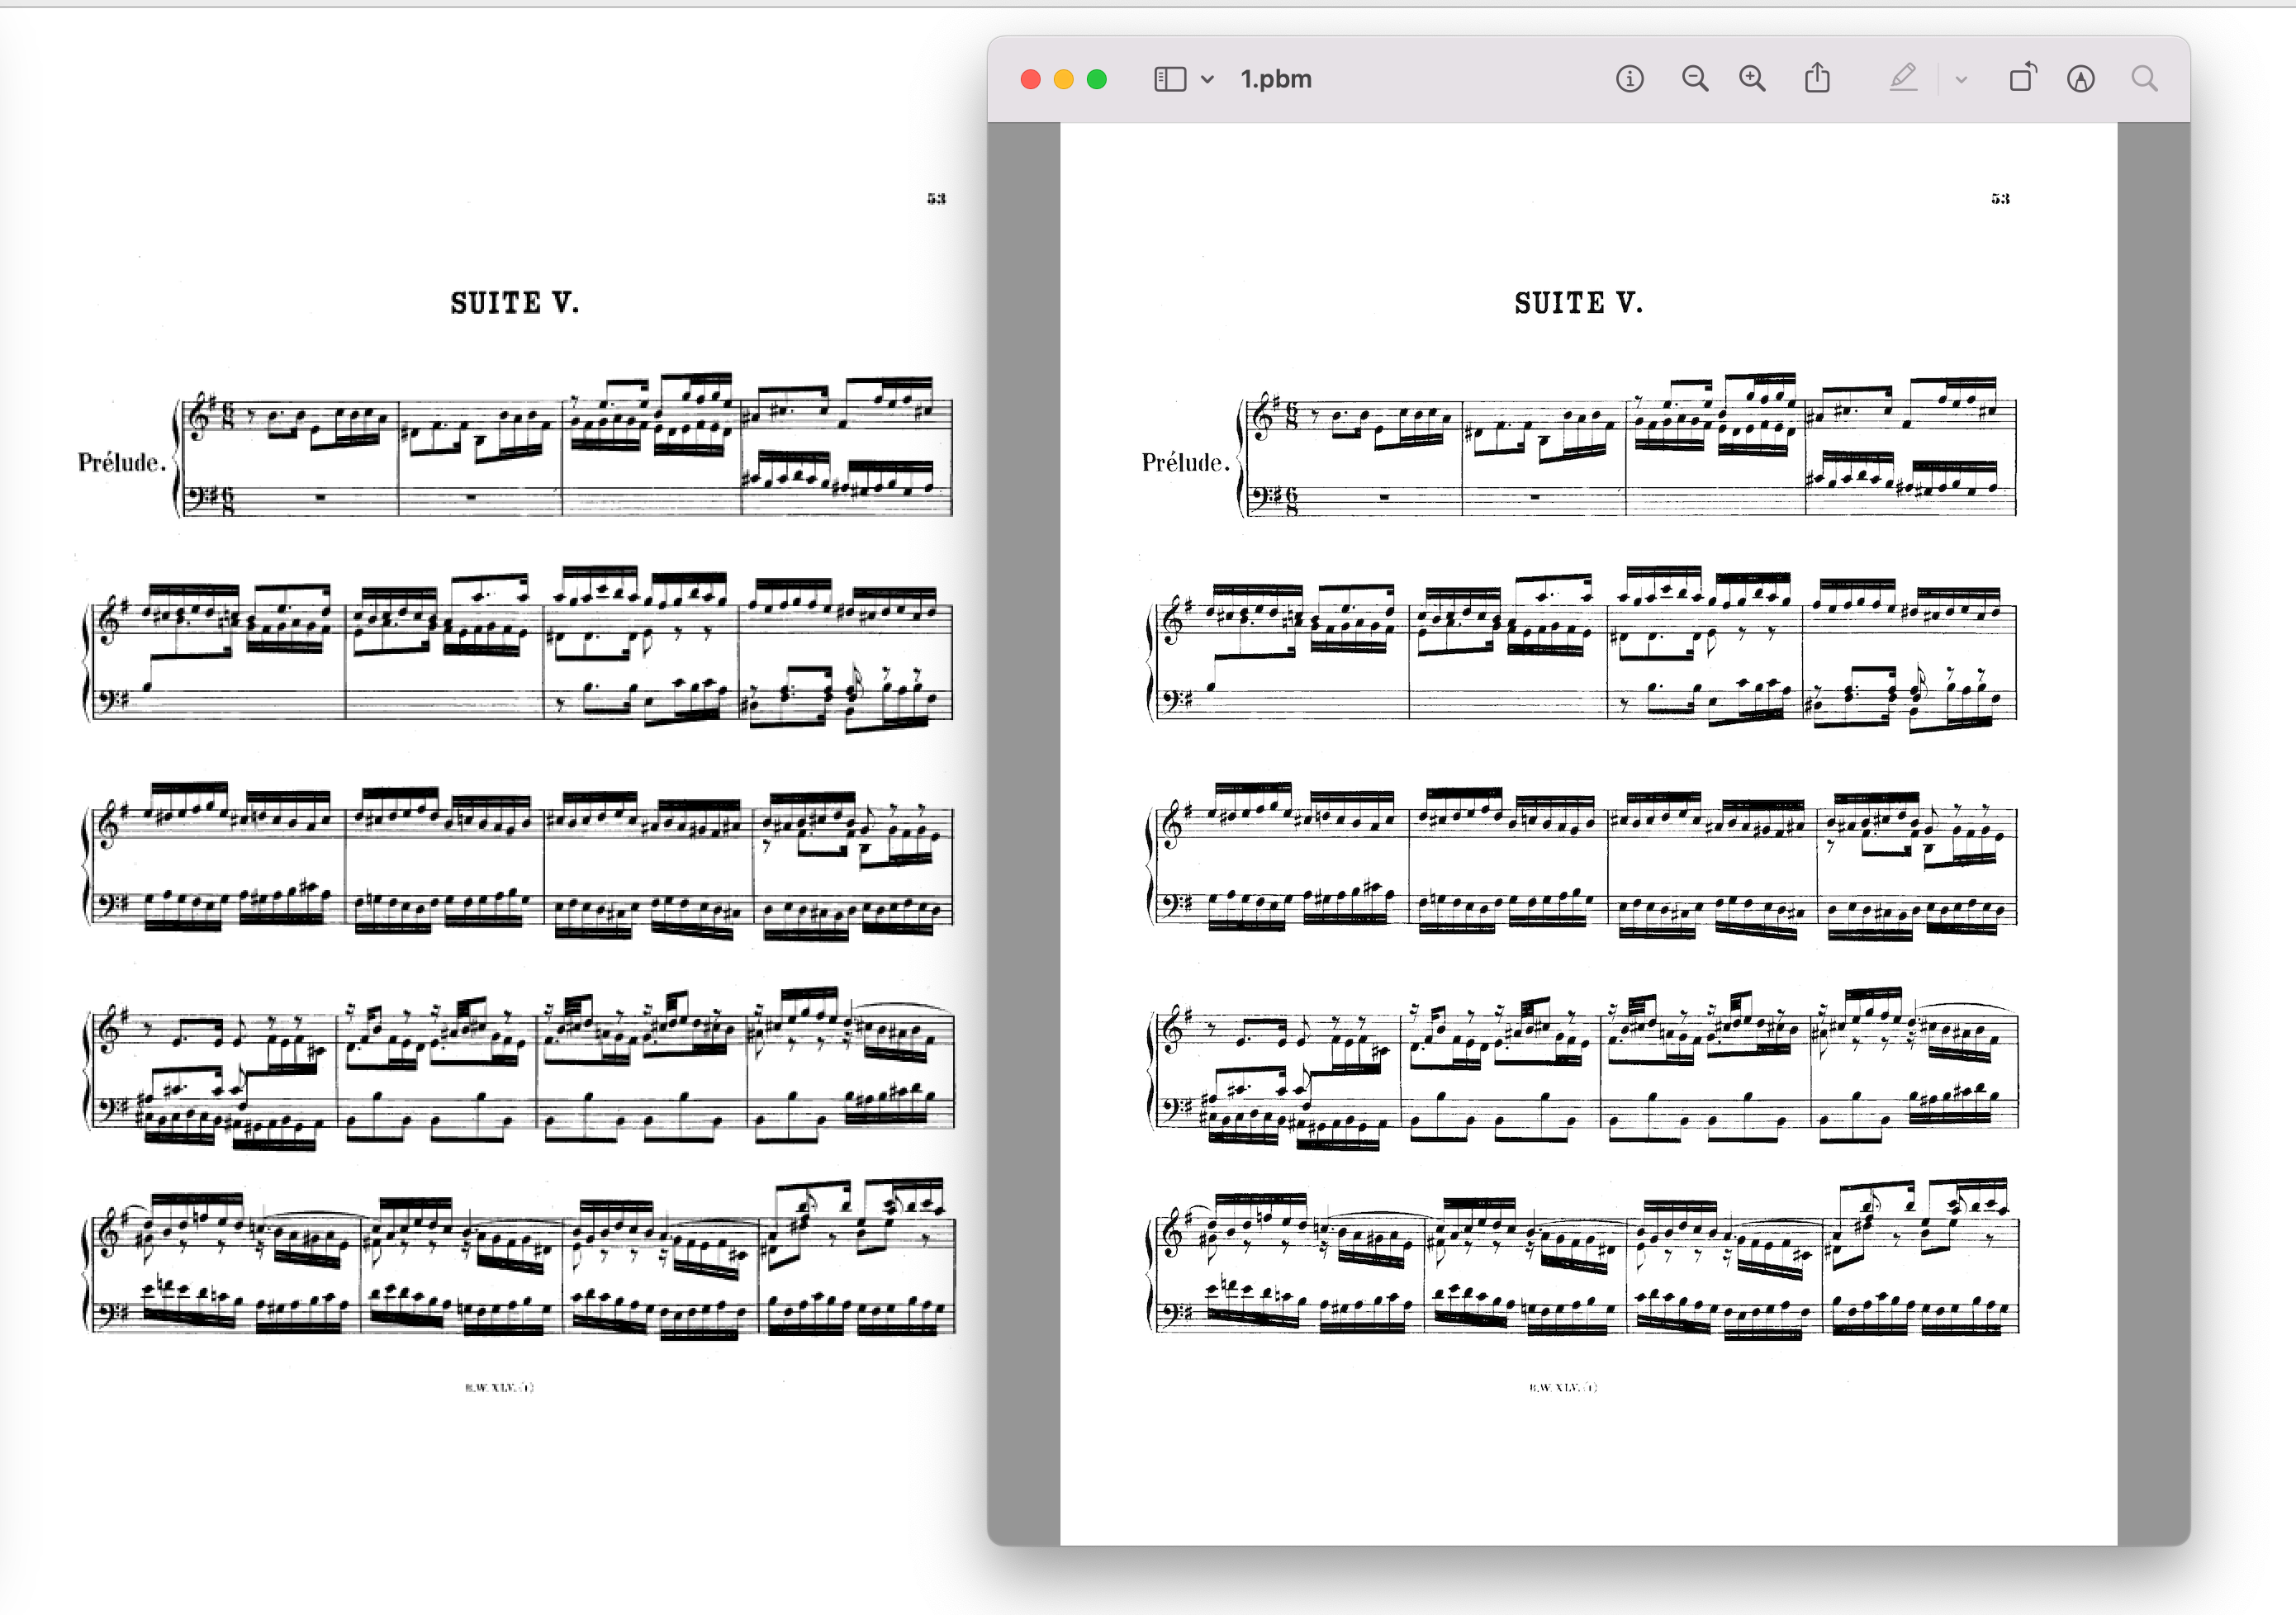
并且,目前我试过的所有图片里,pyqt的清晰度永远被preview.app压一头。
为什么会有这篇笔记
最初的原因
因为macOS的Retina屏幕,我发现tkinter展示某些图片莫名其妙的不清晰。


突然就出问题了
到了即将发这篇笔记的时候,我手痒了,找了2张chrome截图试了下程序,结果发现我的pyqt6不知怎么回事,比tkinter还要糊(当然,tkinter还是比不过preview.app):
代码1:展示1张图片
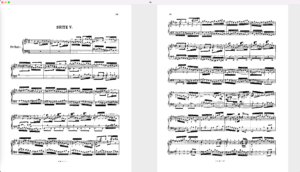
使用pyqt6,在macOS Retina屏幕下仍然表现良好的代码(这里缩放了图片,让图片显示在左半部分)
懒得让chatgpt帮我写获取屏幕大小的代码了,这里写死了 screen_width = 2560 .
只测试了“高度>宽度“的长图(从pdf里面搞出来的图),没有测试其他尺寸类型的图。
如果需要修改图片位置,则可以修改 view.setAlignment(Qt.AlignmentFlag.AlignLeft)
如果需要修改屏幕为fullscreen,则可以修改 self.showMaximized()
chatgpt给出的代码里zoom_percentage还是大了一倍,所以zoom_percentage被我多除了一个2
import sys

from PyQt6 import QtGui
from PyQt6.QtCore import Qt, QSize
from PyQt6.QtGui import QImageReader, QPixmap, QIcon
from PyQt6.QtWidgets import QApplication, QGraphicsScene, QGraphicsView, QMainWindow, QVBoxLayout, QWidget


class MainWindow(QMainWindow):
    def __init__(self):
        super().__init__()

        # Set window title and icon
        self.setWindowTitle('png Viewer')
        # self.setWindowIcon(QIcon(':/path/to/your/icon.png'))

        # Load PBM image
        image_file = './path/1.png'
        image_reader = QImageReader(image_file)
        image = image_reader.read()

        # Get image size
        image_size = image.size()
        print(f'Image size: {image_size.width()}x{image_size.height()}')

        # Calculate zoom percentage
        screen_width = 2560
        zoom_percentage = (screen_width / 2) / image_size.width() / 2
        #  chatgpt给出的代码里zoom_percentage还是大了一倍,所以zoom_percentage被我多除了一个2
        print(f'Zoom percentage: {zoom_percentage * 100}%')

        # Display image
        scene = QGraphicsScene()
        pixmap = QPixmap.fromImage(image)
        pixmap = pixmap.scaled(image_size * zoom_percentage, Qt.AspectRatioMode.KeepAspectRatio,
                               Qt.TransformationMode.SmoothTransformation)
        scene.addPixmap(pixmap)

        view = QGraphicsView(scene)
        view.setRenderHint(QtGui.QPainter.RenderHint.Antialiasing)
        view.setViewportUpdateMode(QGraphicsView.ViewportUpdateMode.FullViewportUpdate)
        view.setHorizontalScrollBarPolicy(Qt.ScrollBarPolicy.ScrollBarAlwaysOff)
        view.setVerticalScrollBarPolicy(Qt.ScrollBarPolicy.ScrollBarAlwaysOff)
        view.setAlignment(Qt.AlignmentFlag.AlignLeft)

        central_widget = QWidget()
        layout = QVBoxLayout()
        layout.addWidget(view)
        central_widget.setLayout(layout)
        self.setCentralWidget(central_widget)

        # Set the main window to full screen
        self.showMaximized()


if __name__ == '__main__':
    app = QApplication(sys.argv)

    window = MainWindow()
    window.show()

    sys.exit(app.exec())
代码2:展示2张图片
一段能够接受2个参数,分别左右显示图片的pyqt6程序,左边的图尽可能占用左半边屏幕,右边的图尽可能占用右半边屏幕,基于上面的程序略微修改而来:
代码里有个0.95是我加的,因为self.showMaximized()会留出顶部的title框
暂时写死了2张图片的路径
import sys

from PyQt6 import QtGui
from PyQt6.QtCore import Qt, QSize
from PyQt6.QtGui import QImageReader, QPixmap, QIcon
from PyQt6.QtWidgets import QApplication, QGraphicsScene, QGraphicsView, QMainWindow, QHBoxLayout, QWidget


class MainWindow(QMainWindow):
    def __init__(self, image1_path, image2_path):
        super().__init__()

        # Set window title and icon
        self.setWindowTitle('PBM Viewer')
        # self.setWindowIcon(QIcon(':/path/to/your/icon.png'))

        # Load images
        image1 = QImageReader(image1_path).read()
        image2 = QImageReader(image2_path).read()

        # Calculate zoom percentage
        screen_width = 2560
        zoom_percentage1 = (screen_width / 2) / image1.width() / 2 * 0.95
        zoom_percentage2 = (screen_width / 2) / image2.width() / 2 * 0.95
        # 这个0.95是我加的,因为self.showMaximized()会留出顶部的title框

        # Create scenes
        scene1 = QGraphicsScene()
        pixmap1 = QPixmap.fromImage(image1).scaled(image1.size() * zoom_percentage1, Qt.AspectRatioMode.KeepAspectRatio,
                                                   Qt.TransformationMode.SmoothTransformation)
        scene1.addPixmap(pixmap1)

        scene2 = QGraphicsScene()
        pixmap2 = QPixmap.fromImage(image2).scaled(image2.size() * zoom_percentage2, Qt.AspectRatioMode.KeepAspectRatio,
                                                   Qt.TransformationMode.SmoothTransformation)
        scene2.addPixmap(pixmap2)

        # Create views
        view1 = QGraphicsView(scene1)
        view2 = QGraphicsView(scene2)

        for view in (view1, view2):
            view.setRenderHint(QtGui.QPainter.RenderHint.Antialiasing)
            view.setViewportUpdateMode(QGraphicsView.ViewportUpdateMode.FullViewportUpdate)
            view.setHorizontalScrollBarPolicy(Qt.ScrollBarPolicy.ScrollBarAlwaysOff)
            view.setVerticalScrollBarPolicy(Qt.ScrollBarPolicy.ScrollBarAlwaysOff)
            view.setAlignment(Qt.AlignmentFlag.AlignLeft)

        # Set up layout
        central_widget = QWidget()
        layout = QHBoxLayout()
        layout.addWidget(view1)
        layout.addWidget(view2)
        central_widget.setLayout(layout)
        self.setCentralWidget(central_widget)

        # Set the main window to full screen
        self.showMaximized()


if __name__ == '__main__':
    app = QApplication(sys.argv)

    # if len(sys.argv) < 3:
    #     print('Usage: python <script_name> <image1_path> <image2_path>')
    #     sys.exit(1)

    image1_path = "./1.png"
    image2_path = "./2.png"

    window = MainWindow(image1_path, image2_path)
    window.show()

    sys.exit(app.exec())
代码3:动态更新展示的2张图片
假定我们正在运行上面的代码展示图片,但我们另一个进程(可能是python进程,也可能是其他语言写的进程)需要动态更新pyqt程序展示的2张图片。
注意:下面的代码懒得优化了,因为我目前就只会用监控文件的方法来更新图片,所以就暂时这么将就用了
注意:下面的代码是从项目里搬出来的,有些 参数/变量 是写死的,注意!
注意:需要准备这些文件和文件夹:
python运行文件:2个, test_pyqt.py 和 pyqt_controller.py
图片文件夹: ./images/ ,写死在代码里了
蓝色过渡图片:浅蓝色的过渡图片 ./images/blue.png
其他展示图片:初始化的2张图片为 ./images/1.png 和 ./images/2.png
监控文件: ./monitor_images.txt
文件1: test_pyqt.py
# Save this as test_pyqt.py

import sys

from PyQt6 import QtGui
from PyQt6.QtCore import Qt, QSize
from PyQt6.QtGui import QImageReader, QPixmap, QIcon
from PyQt6.QtWidgets import QApplication, QGraphicsScene, QGraphicsView, QMainWindow, QHBoxLayout, QWidget


class MainWindow(QMainWindow):
    def __init__(self, image1_path, image2_path):
        super().__init__()

        # Set window title and icon
        self.setWindowTitle('PBM Viewer')
        # self.setWindowIcon(QIcon(':/path/to/your/icon.png'))

        # Load images
        image1 = QImageReader(image1_path).read()
        image2 = QImageReader(image2_path).read()

        # Calculate zoom percentage
        screen_width = 2560
        self.zoom_percentage1 = (screen_width / 2) / image1.width() / 2 * 0.95
        self.zoom_percentage2 = (screen_width / 2) / image2.width() / 2 * 0.95

        # Create scenes
        scene1 = QGraphicsScene()
        pixmap1 = QPixmap.fromImage(image1).scaled(image1.size() * self.zoom_percentage1, Qt.AspectRatioMode.KeepAspectRatio,
                                                   Qt.TransformationMode.SmoothTransformation)
        scene1.addPixmap(pixmap1)

        scene2 = QGraphicsScene()
        pixmap2 = QPixmap.fromImage(image2).scaled(image2.size() * self.zoom_percentage2, Qt.AspectRatioMode.KeepAspectRatio,
                                                   Qt.TransformationMode.SmoothTransformation)
        scene2.addPixmap(pixmap2)

        # Create views
        self.view1 = QGraphicsView(scene1)
        self.view2 = QGraphicsView(scene2)

        for view in (self.view1, self.view2):
            view.setRenderHint(QtGui.QPainter.RenderHint.Antialiasing)
            view.setViewportUpdateMode(QGraphicsView.ViewportUpdateMode.FullViewportUpdate)
            view.setHorizontalScrollBarPolicy(Qt.ScrollBarPolicy.ScrollBarAlwaysOff)
            view.setVerticalScrollBarPolicy(Qt.ScrollBarPolicy.ScrollBarAlwaysOff)
            view.setAlignment(Qt.AlignmentFlag.AlignLeft)

        # Set up layout
        central_widget = QWidget()
        layout = QHBoxLayout()
        layout.addWidget(self.view1)
        layout.addWidget(self.view2)
        central_widget.setLayout(layout)
        self.setCentralWidget(central_widget)

        # Set the main window to full screen
        self.showMaximized()

    def update_images(self, image1_path, image2_path):
        # Load images
        image1 = QImageReader(image1_path).read()
        image2 = QImageReader(image2_path).read()

        # Update views
        pixmap1 = QPixmap.fromImage(image1).scaled(image1.size() * self.zoom_percentage1,
                                                   Qt.AspectRatioMode.KeepAspectRatio,
                                                   Qt.TransformationMode.SmoothTransformation)
        pixmap2 = QPixmap.fromImage(image2).scaled(image2.size() * self.zoom_percentage2,
                                                   Qt.AspectRatioMode.KeepAspectRatio,
                                                   Qt.TransformationMode.SmoothTransformation)

        self.view1.scene().clear()
        self.view1.scene().addPixmap(pixmap1)

        self.view2.scene().clear()
        self.view2.scene().addPixmap(pixmap2)


def run(image1_path, image2_path):
    app = QApplication(sys.argv)
    window = MainWindow(image1_path, image2_path)
    window.show()
    return app, window

def start_app(app):
    sys.exit(app.exec())
文件2: pyqt_controller.py
# Save this as pyqt_controller.py
import test_pyqt
from PyQt6.QtCore import QTimer
import sys


def read_image_paths_from_file(file_path):
    try:
        with open(file_path, 'r') as file:
            image1_path = file.readline().strip()
            image2_path = file.readline().strip()
            return image1_path, image2_path
    except Exception as e:
        print(f'Error reading image paths: {e}')
        return None, None


def update_images_periodically():
    global last_image1_path, last_image2_path, blue

    image1_path, image2_path = read_image_paths_from_file('monitor_images.txt')

    if blue:
        if image1_path and image2_path and (image1_path != last_image1_path) and (image2_path != last_image2_path):
            # print('更新两边blue')
            window.update_images('./images/blue.png', './images/blue.png')
            blue = False
        elif image1_path and image2_path and (image1_path != last_image1_path):
            # print('更新左边blue')
            window.update_images('./images/blue.png', image2_path)
            blue = False
        elif image1_path and image2_path and (image2_path != last_image2_path):
            # print('更新右边blue')
            window.update_images(image1_path, './images/blue.png')
            blue = False
    else:
        if image1_path and image2_path and (image1_path != last_image1_path or image2_path != last_image2_path):
            window.update_images(image1_path, image2_path)
            last_image1_path = image1_path
            last_image2_path = image2_path
            blue = True


if __name__ == "__main__":
    initial_image1_path = './images/image1.png'
    initial_image2_path = './images/image2.png'
    blue = True

    import os

    os.system("echo ''> ./monitor_images.txt")

    app, window = test_pyqt.run(initial_image1_path, initial_image2_path)

    last_image1_path, last_image2_path = initial_image1_path, initial_image2_path

    timer = QTimer()
    timer.timeout.connect(update_images_periodically)
    timer.start(1000)  # Check for updates every 1 second

    test_pyqt.start_app(app)
运行方法:
$ python3 pyqt_controller.py此时会展示2张初始图片image1.png和image2.png
需要更新图片的时候,另一个进程对 monitor_images.txt 文件进行修改,修改第1行为 新图片a的路径 ,修改第2行为 新图片b的路径 ,比如:
./images/image3.png
./images/image4.png
代码里的pyqt监控函数QTimer()就会监控到文件变化(每隔1秒扫描文件 monitor_images.txt ),如果有更新就会更新。
更新的时候会根据具体情况选择短暂的蓝色幕布(过渡),比如:
从 image1-image2 切换到 image3-image4 :左右都有蓝色幕布过渡
从 image1-image2 切换到 image3-image2 :只有左边有蓝色幕布过渡
从 image1-image2 切换到 image1-image3 :只有右边有蓝色幕布过渡
另一个补充:由于上面的代码是从现有项目里抠出来的,这段代码是新增加的:

